How-to
Plan a sprint
A sprint groups the tickets the team commits to finishing in one to four weeks. You create and fill it from the backlog, then you start it.
Create the sprint
Link to the “Create the sprint” section- In your project, open Backlog in the sidebar.
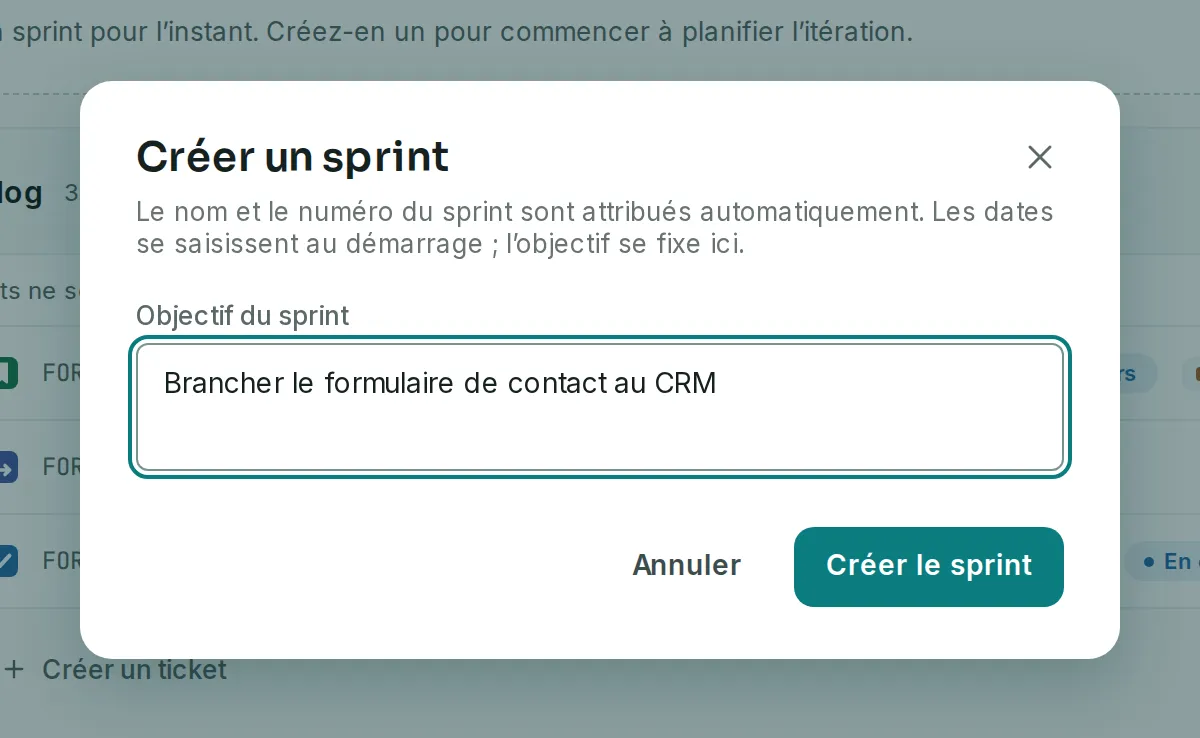
- Click Create a sprint. While the project has no sprint, the button also appears in the box at the top of the page.
- Optional: in Sprint goal, write what the iteration should have delivered by the end. The sprint’s name and number are assigned automatically.
- Click Create the sprint. The sprint appears above the backlog, in the Planned state.
Put tickets in it
Link to the “Put tickets in it” sectionThe backlog lists stories, tasks, bugs and sub-tasks. Epics are not in it: they have their own page, Issues › Epics, and their tickets stay in the backlog.
- Drag a ticket from the backlog into the sprint by its handle, on the left of the row. You can also click the arrow after the handle. Its tooltip says Add to the sprint.
- Order the sprint’s tickets by priority. Drag their handle, or click it to open its menu (move up, move down, move to the top or to the bottom). With the keyboard, give the handle focus and use the ↑ and ↓ arrows.
- Check the load. The three counters in the sprint header give the points to do, in progress and done. An unestimated ticket counts in the number of tickets, but adds no points.
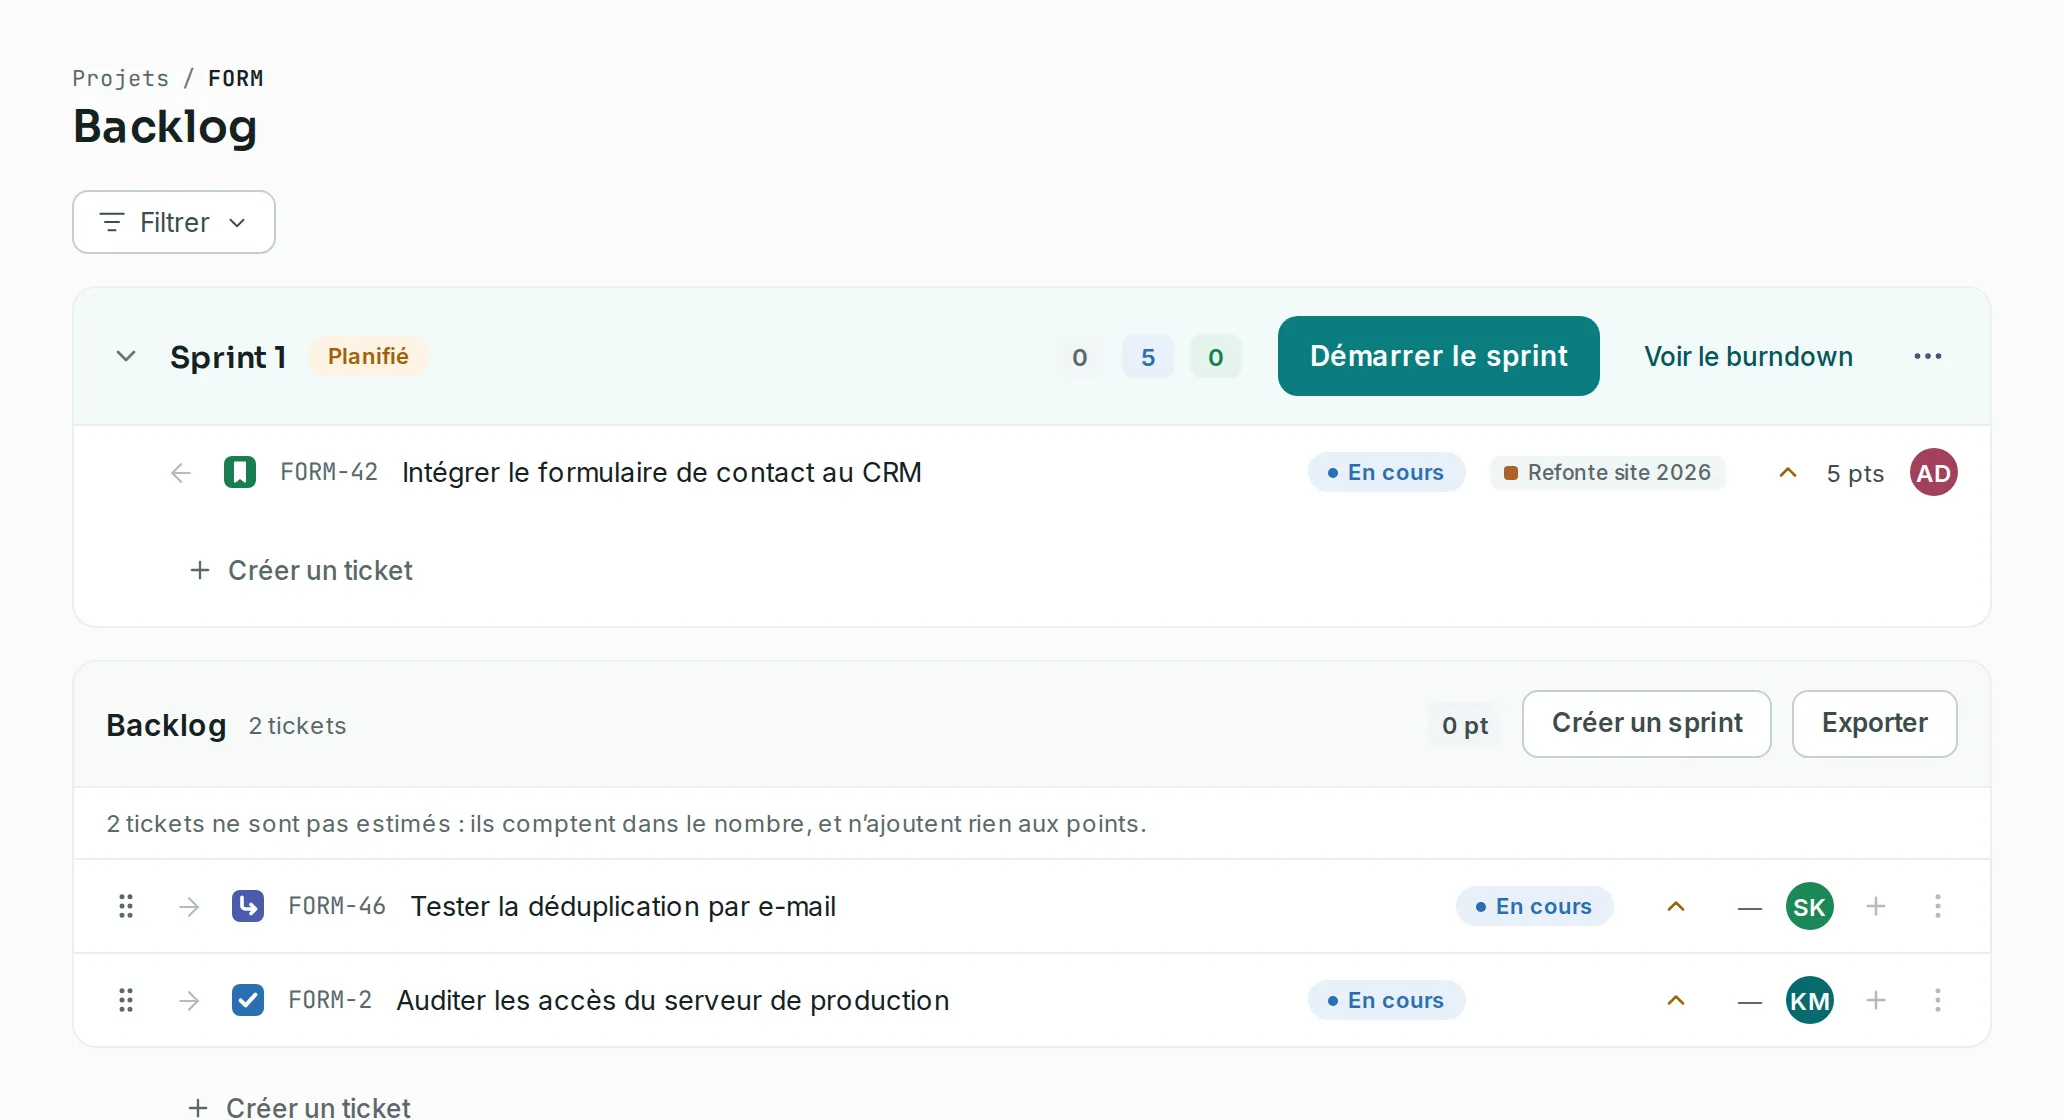
The Add to the sprint arrow only appears when the sprint is expanded. If it is collapsed, click the chevron to the left of its name.
Start the sprint
Link to the “Start the sprint” section- In the sprint header, click Start the sprint.
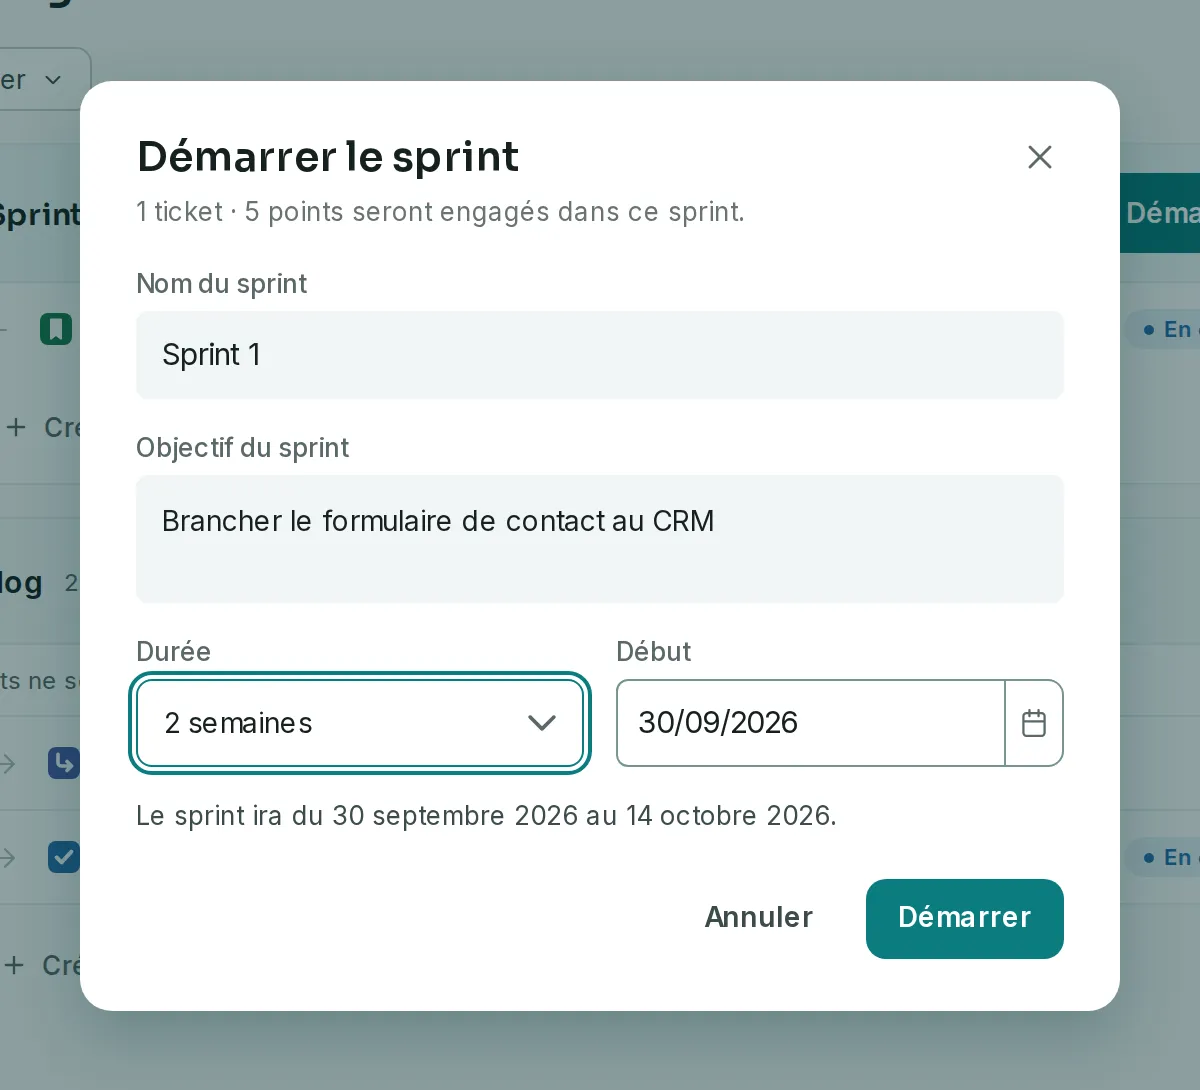
- Read the first line of the window. It gives the number of tickets and points that will be committed.
- Choose the Length, from one to four weeks, and the Start date. The window shows the resulting period, as in “The sprint will run from … to …”.
- Click Start. The sprint moves to the In progress state, and the project board then shows only its tickets.
Edit a sprint
Link to the “Edit a sprint” sectionFrom the backlog, for a planned or running sprint:
- Open Backlog in the sidebar.
- In the sprint header, click …, then Edit sprint.
- Change the Sprint name, the Start date (planned sprint), the End date or the Sprint goal.
- Click Save. The sprint header shows the new values at once.
From the board, for the running sprint: click … to the right of Complete sprint, then Edit sprint.
The start date of a started sprint no longer changes: the window shows it without letting you type it. The burndown starts from that day. A closed sprint cannot be edited.
If you get stuck
Link to the “If you get stuck” section| What you see | What to do |
|---|---|
| “This sprint holds no issue. Drag at least one from the backlog before starting it.” | Add at least one ticket to the sprint, then click Start again. |
| “This project already has a running sprint. Close it before starting another.” | First close the running sprint with Close the sprint. |
| The Create a sprint button does not appear. | You do not have the “Manage sprints” right, or the project is archived. Ask a project Admin for it, or to unarchive the project. |
| “The sprint name is required.” | Type a name, then click Save again. |
| “The end date is before the start date.” | Pick an end date after the sprint’s start. |
| “This sprint was closed in the meantime: it can no longer be edited.” | Someone completed the sprint while you were editing it. Reload the page: a closed sprint can no longer be edited. |
| The … of a backlog sprint, or Edit sprint in the board’s one, does not appear. | It is reserved to Admins and to Members with the “Manage sprints” right, and absent from an archived project. Ask a project Admin for the right, or to unarchive the project. |
Good to know
Link to the “Good to know” section- The length is two weeks by default.
- A sprint can stay empty while it is planned. Dates are only chosen at start.
- View the burndown, in the sprint header, opens the progress chart of this sprint.
- Outside a text field, the C key opens ticket creation.